Configuration de Knob1
01
Télécharger Input
Créez des Actions, des Actions Multiples ou remappez simplement votre Knob1 avec Input :
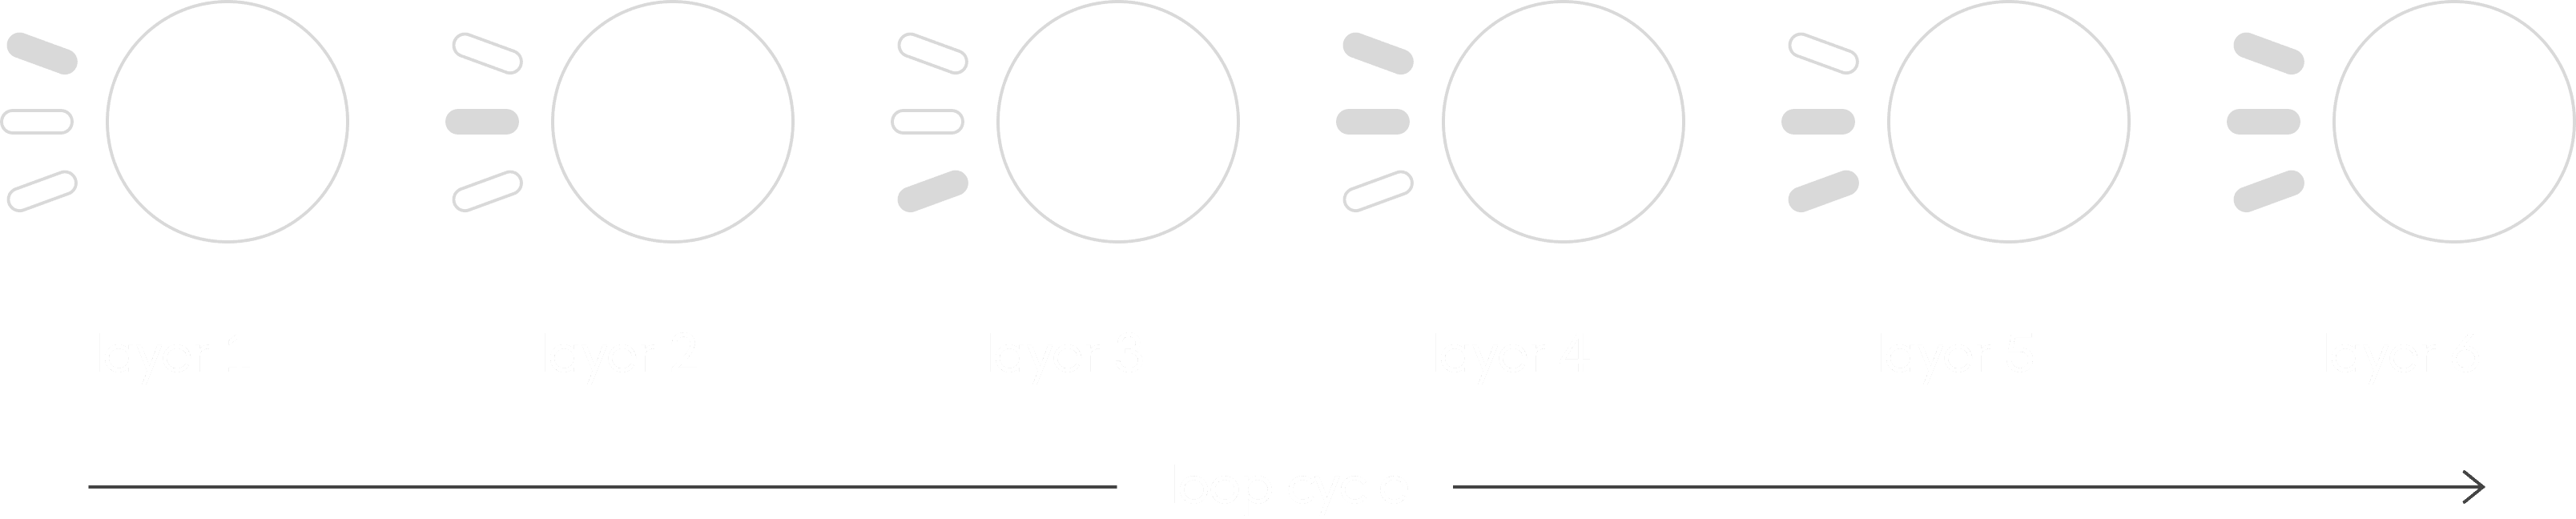
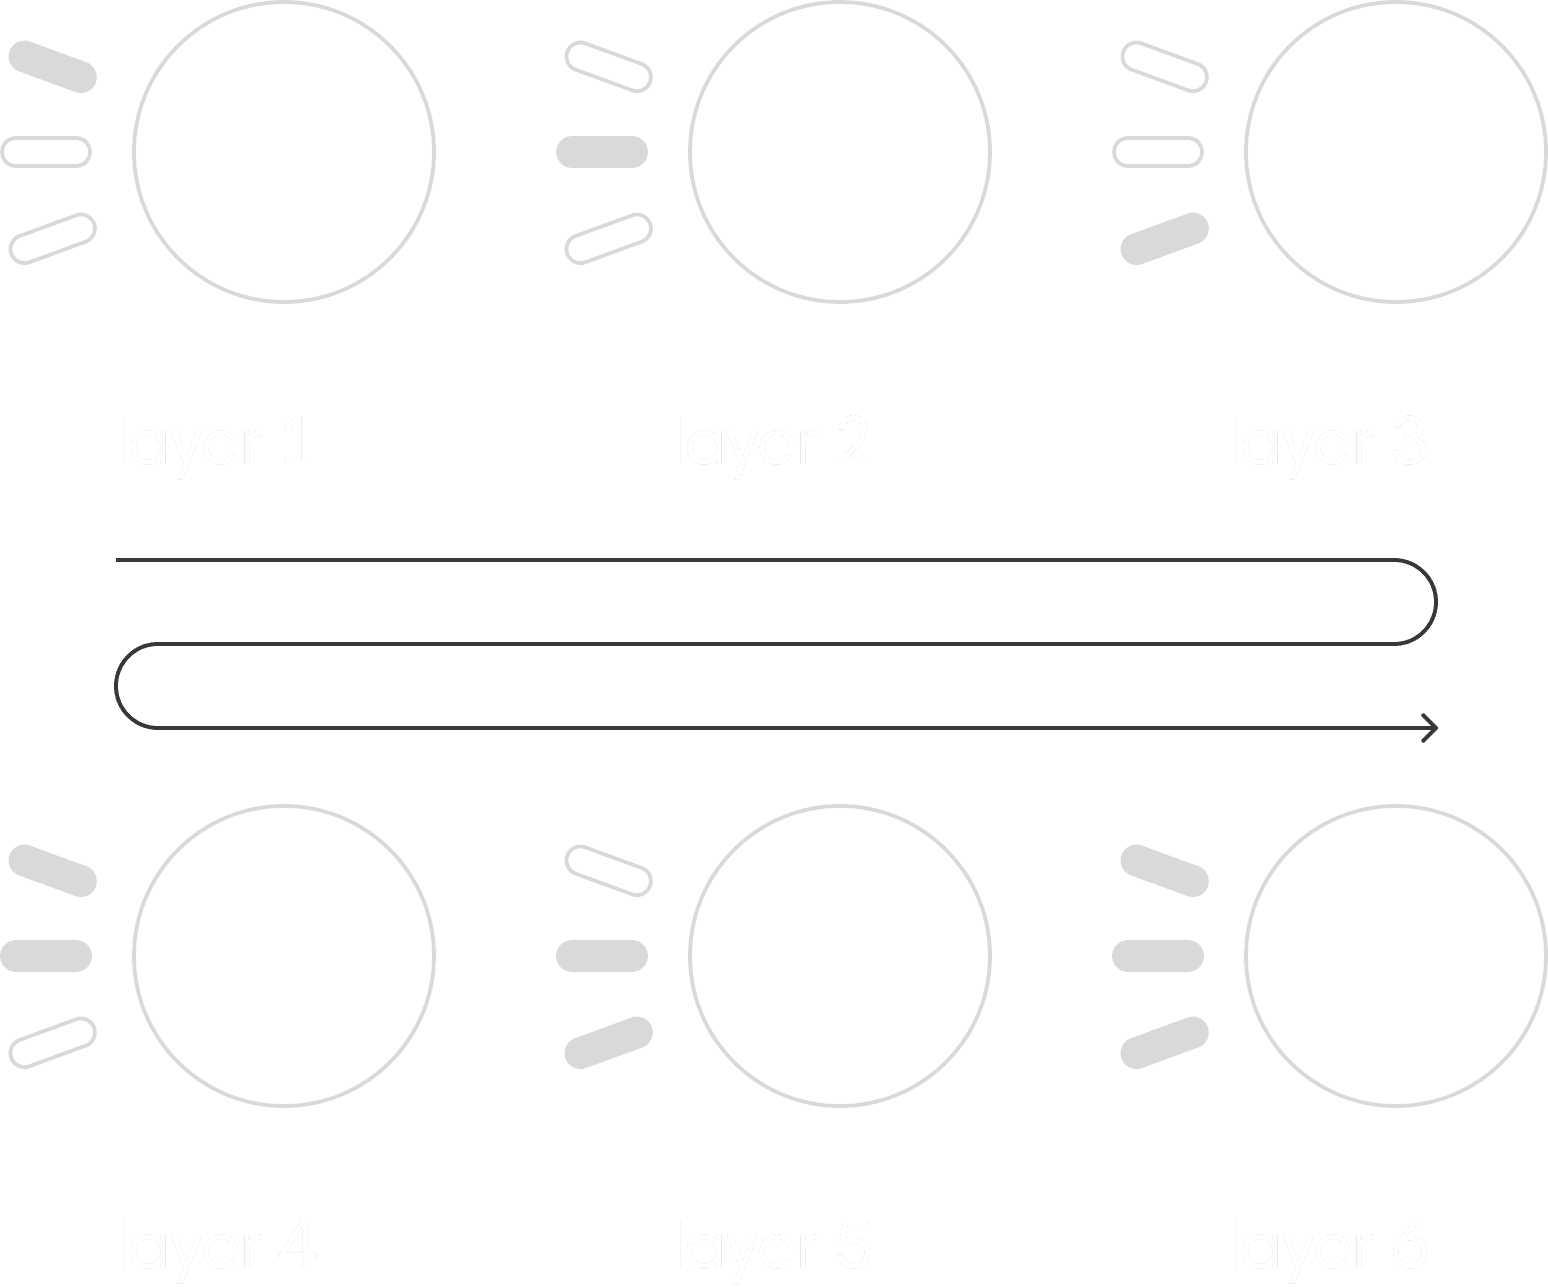
For even more customization, use Input to map shortcuts for other creative apps to any key, dial, or joystick. Six programmable layers keep your workflows organized and your essential actions within reach.
02
Turn your Micro on/off
Click the rear button once to turn it on.
Press and hold it for 2 seconds to turn it off.
Press it once to put it to sleep, then press any key to wake it up.
03
ChatGPT
Agent keys
The 6 frosted Agent Keys give you a live status of your Codex threads/agents. Single-tap a key to focus it in the background, or double-tap to bring your Codex window front and center.
RGB Legend:
White -> Idle
Blue -> Thinking
Green -> Complete
Amber -> Requires input
Red -> Error
Off -> No Assigned Agent
04
ChatGPT
Command keys
The Command Keys put your most-used Codex actions right at your fingertips. You can easily customize what your keys, dial, and joystick does by long-pressing the dial to open the configuration page while inside Codex.
05
Connectivité
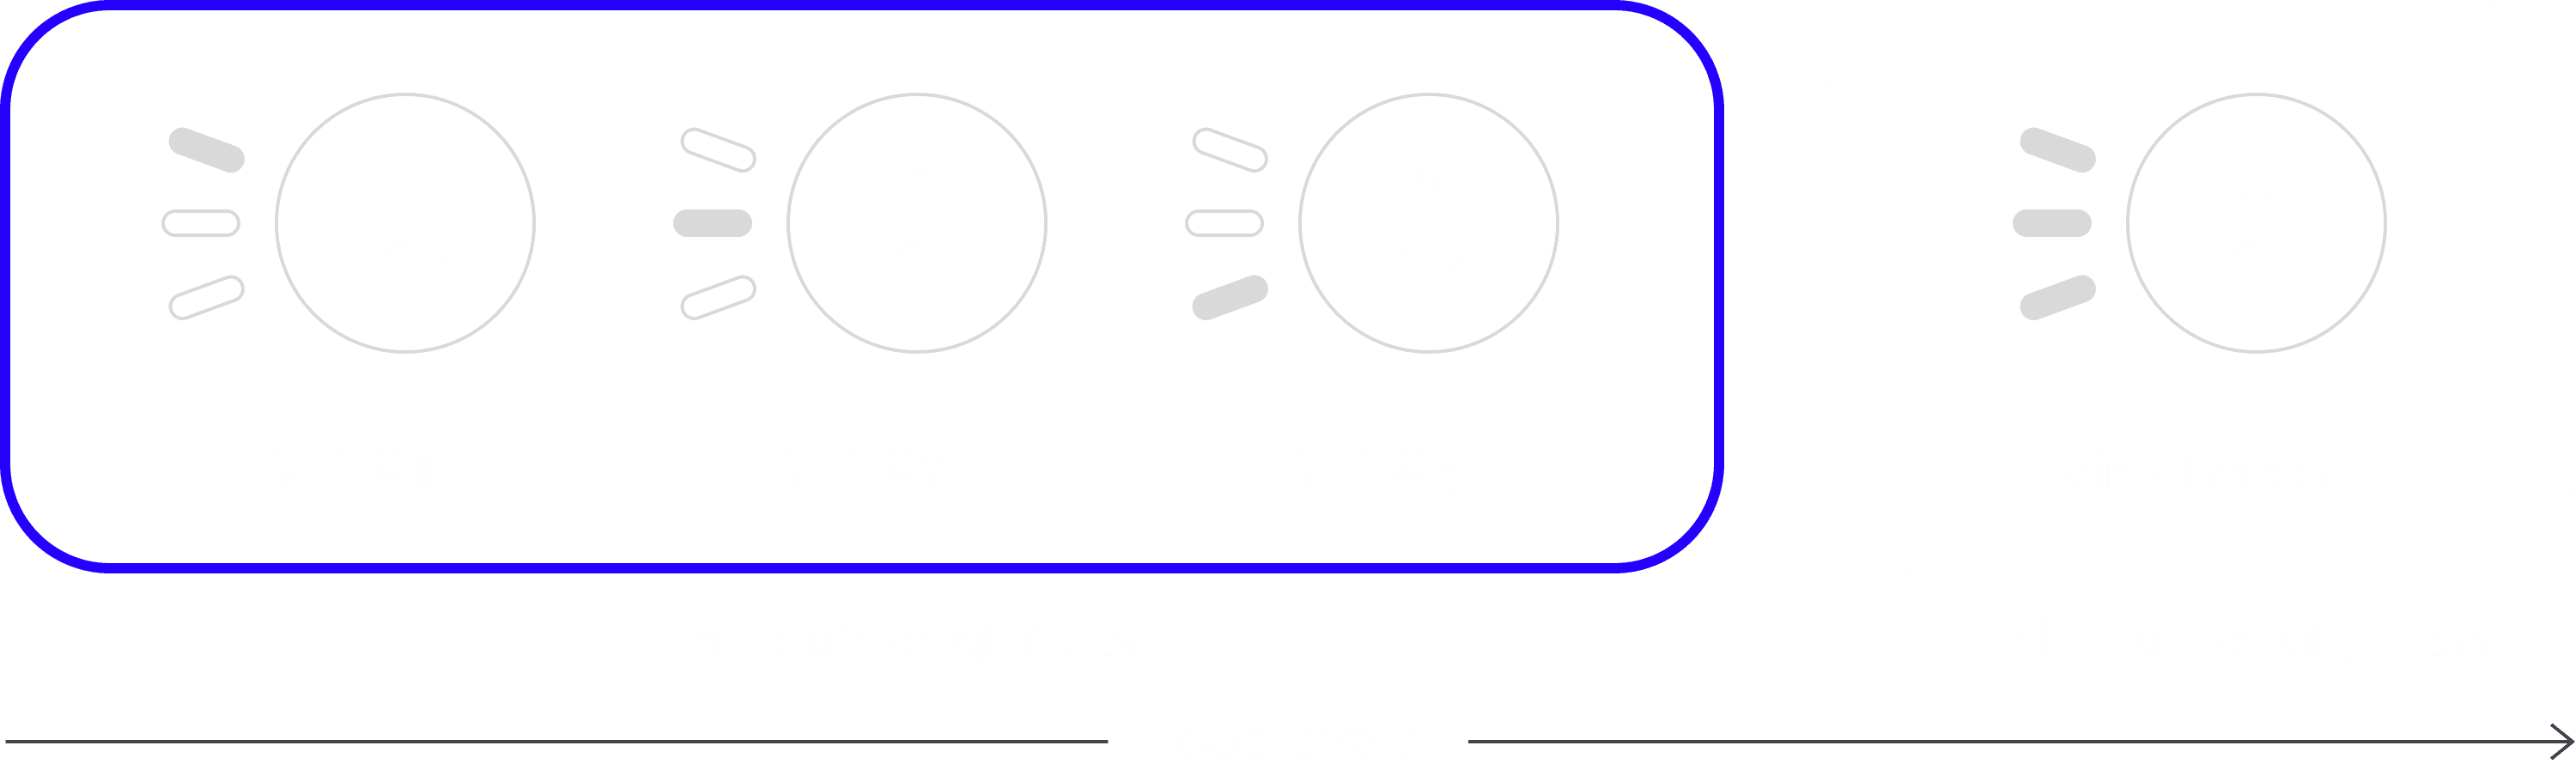
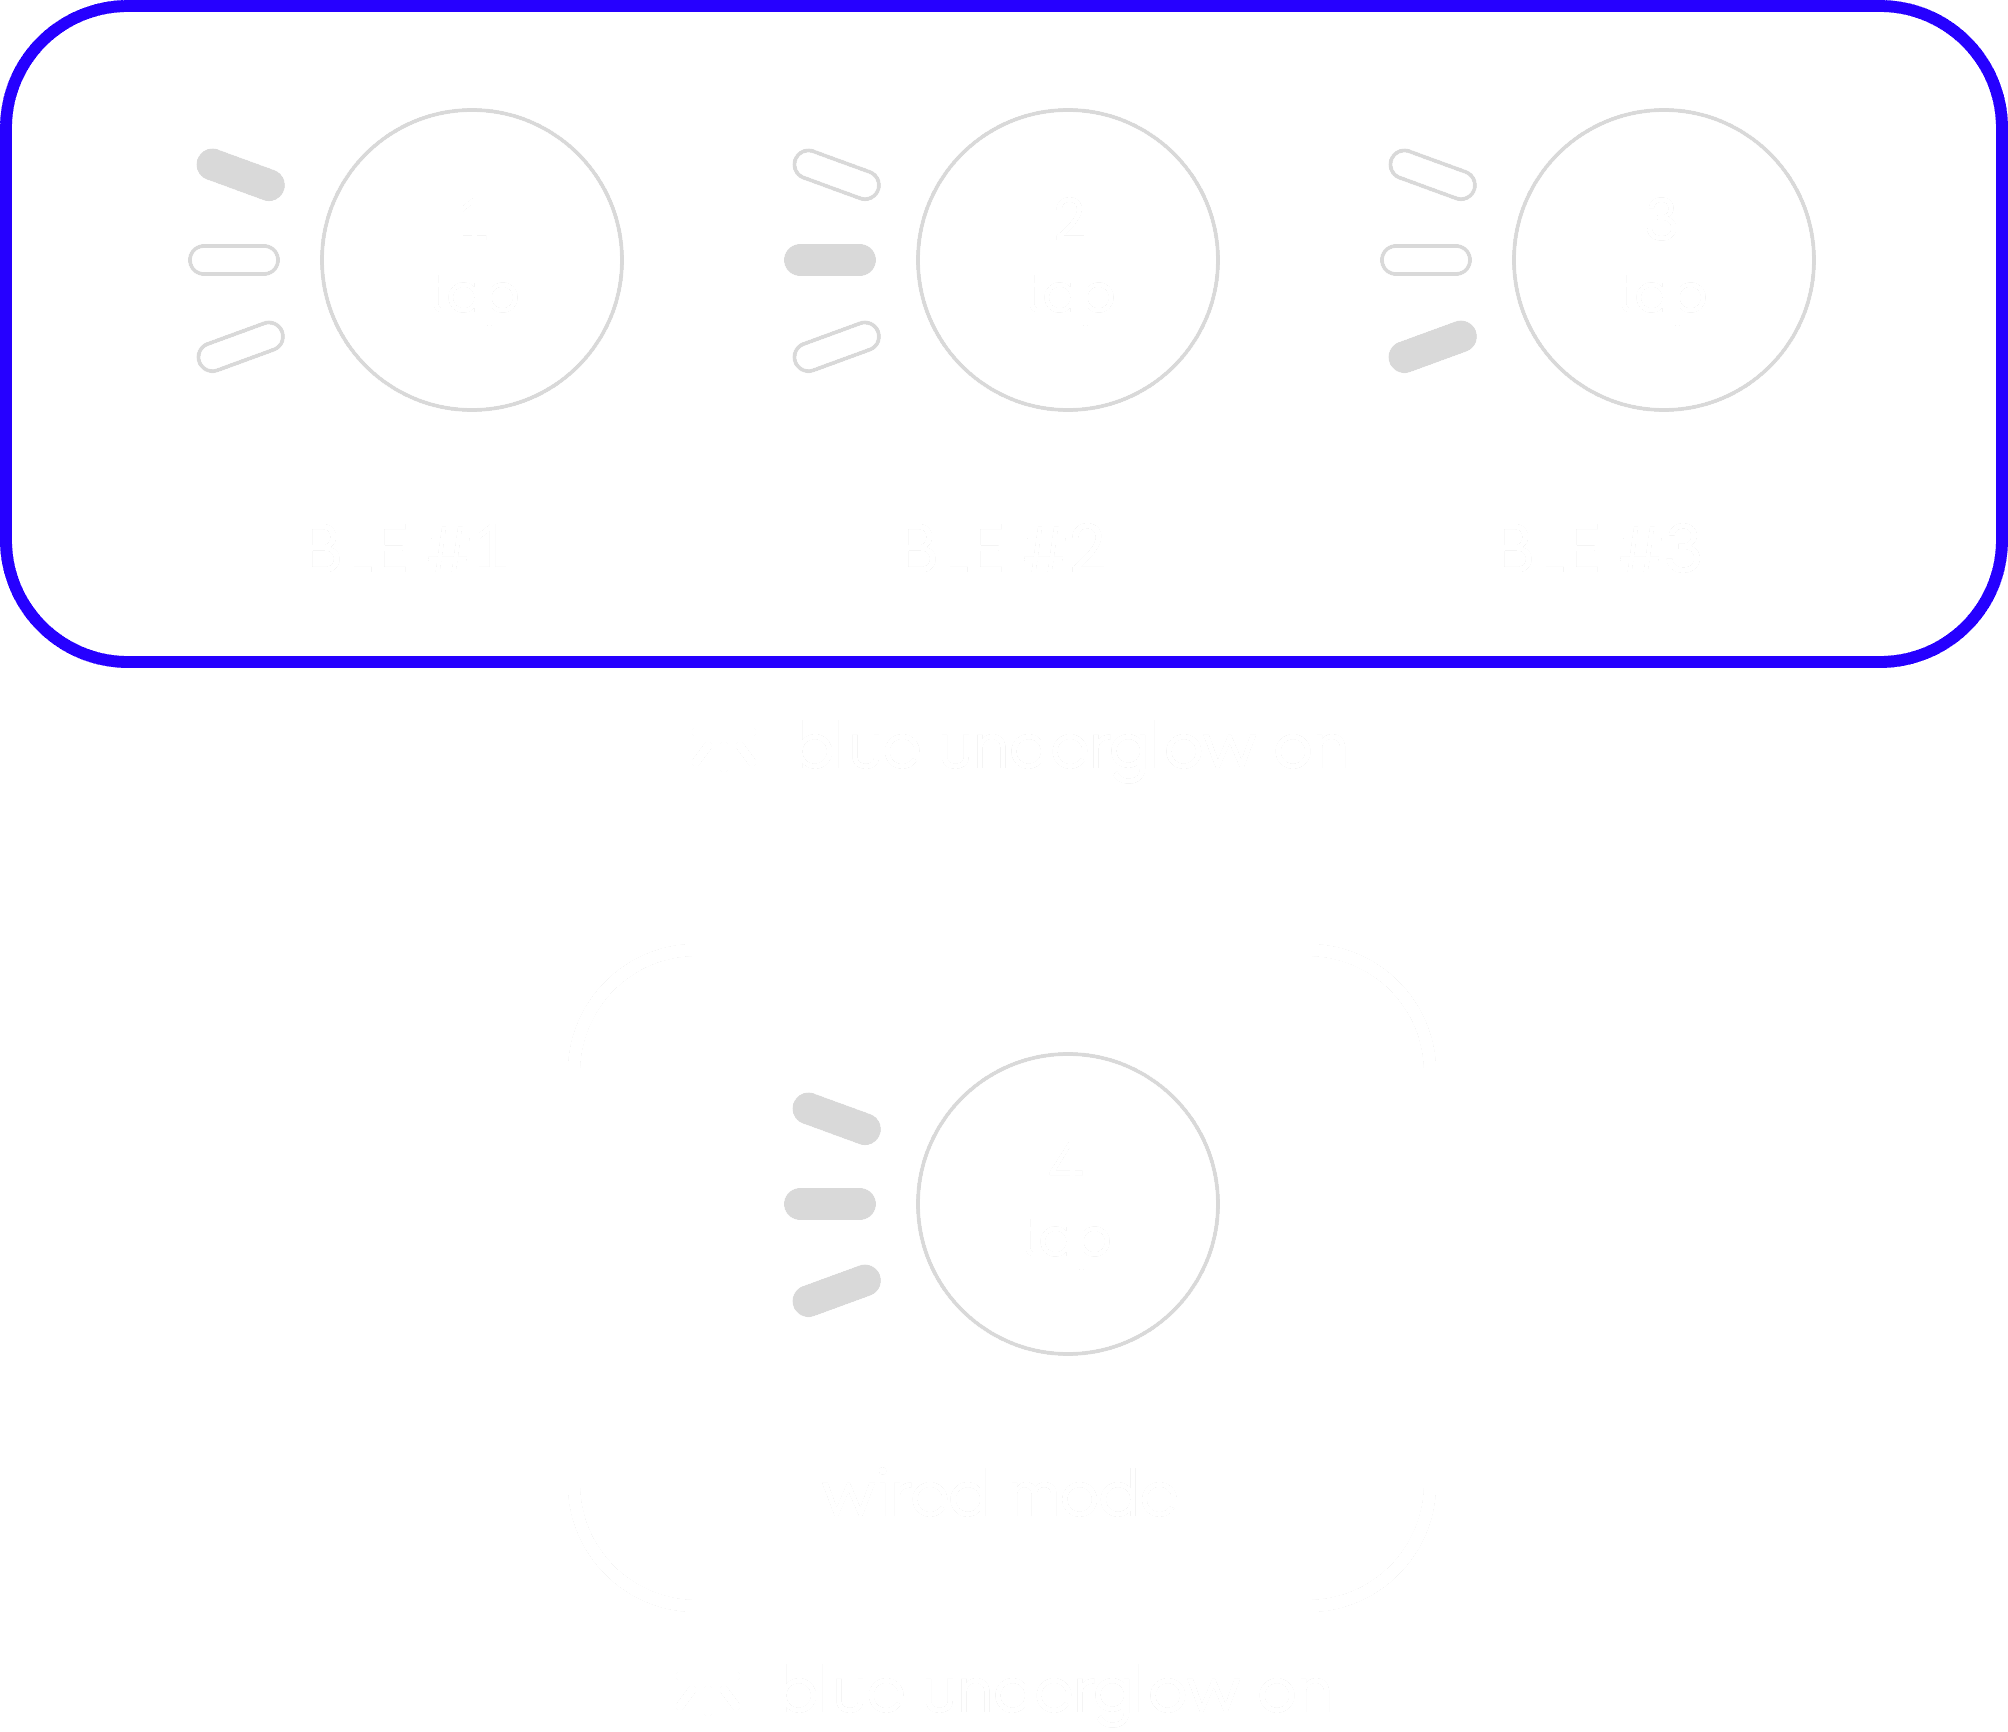
Lorsque vous allumez le Knob1, le clavier démarrera en mode Bluetooth. Vous pouvez désactiver le Bluetooth simplement en branchant le câble.
Pairing
A fast-flashing LED indicates pairing mode.
When the LED turns solid, pairing is complete.
To re-pair, hold the touch button for 3 seconds on your desired channel until it starts blinking again.
Exit communication mode
The Micro automatically exits communication mode after 5 seconds of inactivity.
Note
While in BLE mode, if you plug in the USB cable, it will switch to WIRED mode and start charging.
06
Input software
Paramètres de l'horloge
Pour régler votre horloge, accédez aux paramètres de l'horloge. Sélectionnez la valeur à modifier en faisant défiler avec le cadran supérieur et réglez-la avec le cadran inférieur. Aucune confirmation n'est nécessaire, retournez simplement à l'écran d'accueil pour que votre heure soit correctement réglée.
07
Input software
Software-linked layers (AppSense)
Link a software to a specific layer, and your Micro will automatically switch to that layer when the app is in focus.
How to Link a software to a layer?
Click the "link" icon near the layer name.
Then click “Auto detect”.
Now open the app you want to link and keep in focus for 5 sec.
08
Reset your device
If your Micro freezes, or will not turn on/off, a soft reset will fix it:
Soft reset
Unscrew the four screws located at the corners of the PCB.
Gently lift the PCB — be careful, as a flat cable connects the top PCB to an internal lower PCB.
You will see two buttons marked with dots:
One dot (top): Reset
Two dots (bottom): Boot
Press the Reset button (the top one) once.
Your keyboard will reboot and become operational again.
keyboard profile & layer reset (If your layout in Input is corrupted)
With your Micro 2 connected into Input open the Setup tab
Click "Reset settings" & confirm
Now all your layers and profile and actions are deleted